| B&M Short shifter & Momo Combat shift knob |

|
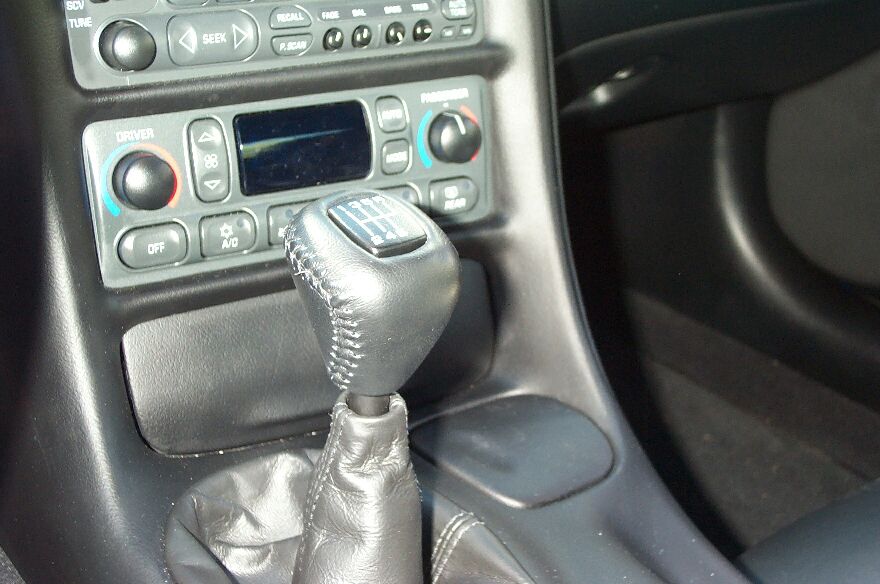
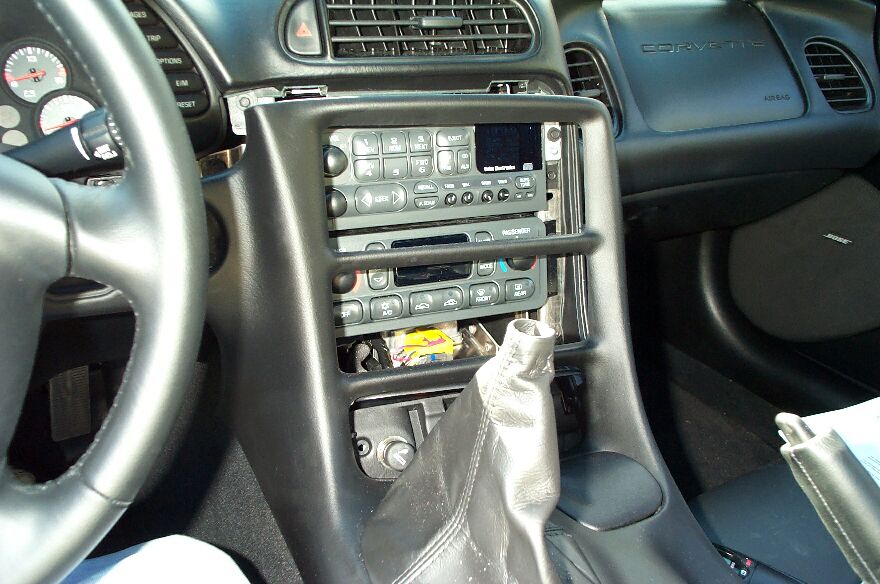
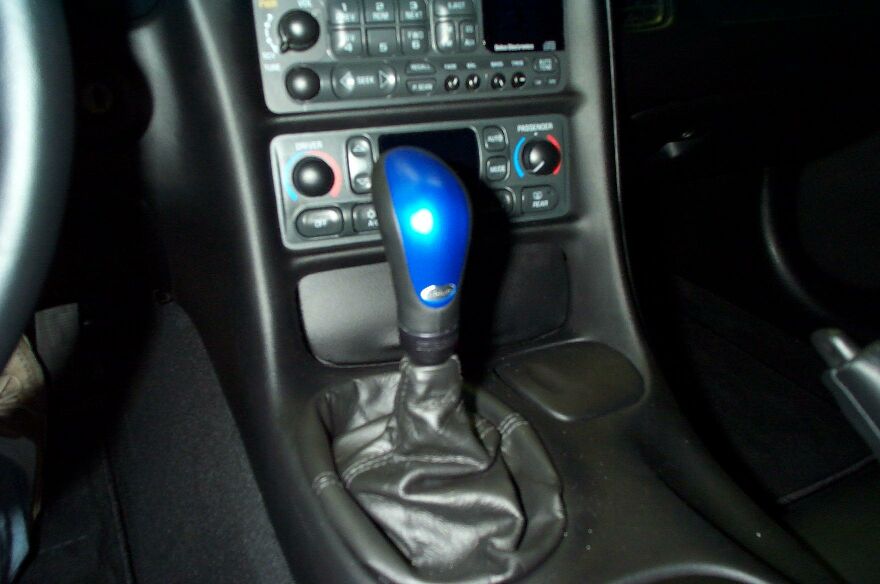
I installed the B&M short shifter this weekend. Wow, what a difference it makes over stock. My Momo Combat shift knob still has not arrived yet, so I am using the stock shift knob (what a piece of crap that is!). I wanted the knob with the blue insert and they are somewhat new to the market. The blue insert will complement the Nassau Blue exterior quite well.
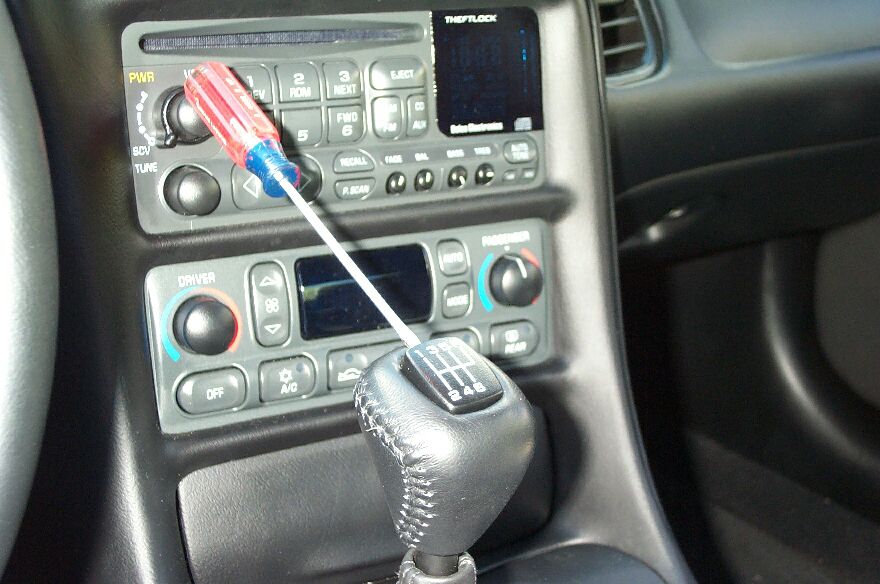
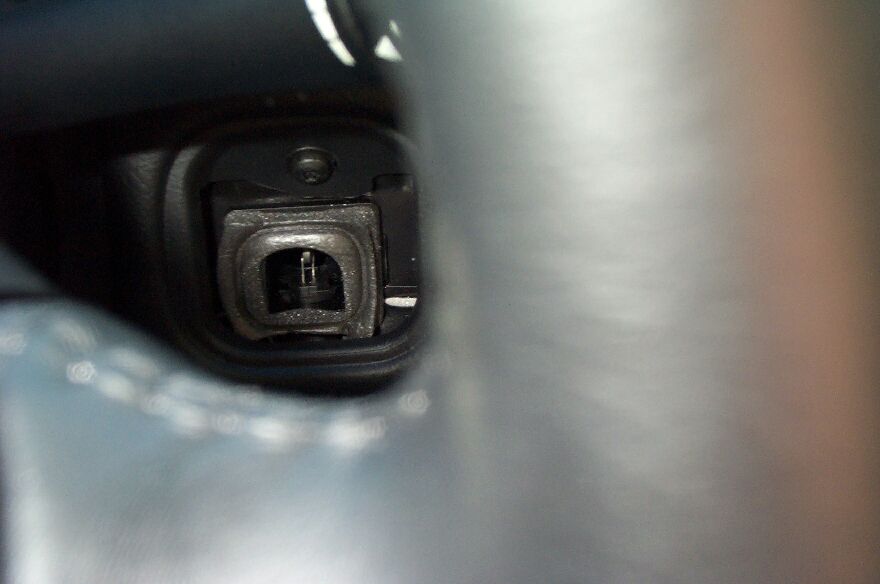
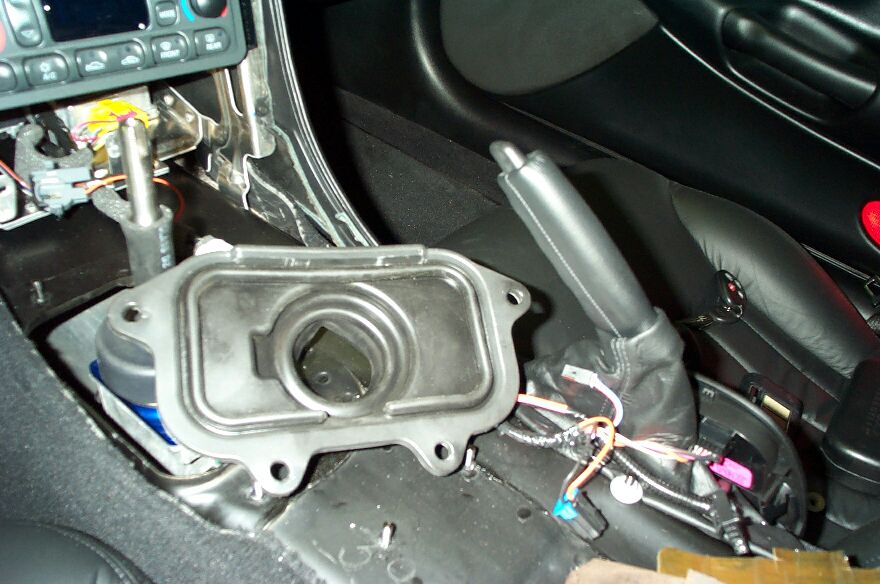
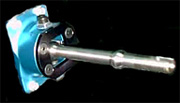
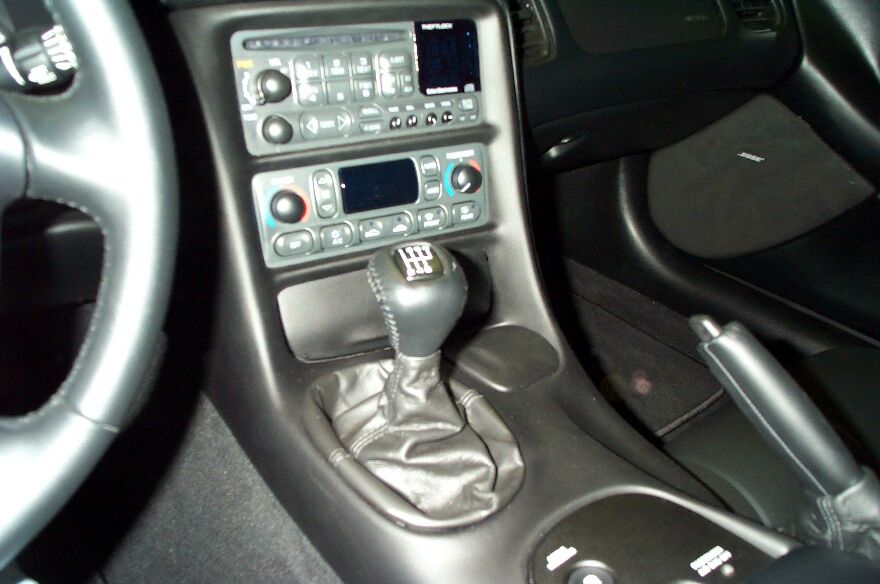
Picture 1 shows the stock shifter & knob. Picture 2 shows you the correct method for removing the shift pattern plug. In picture 3, you can see the T plug that keeps the knob from spinning. This is a tough item to remove.
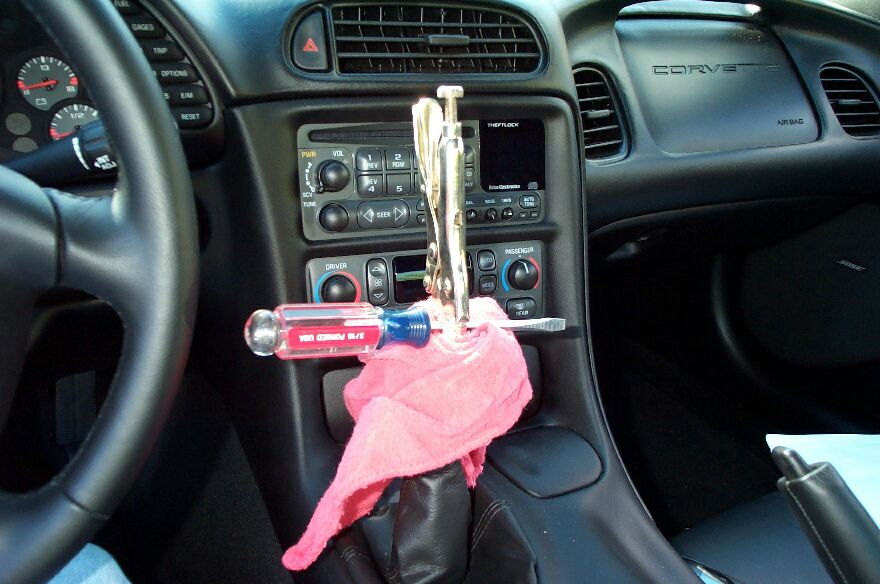
The T pin is quite a pain to remove. I used a small vice grip, then I wrapped the shift knob in a shop rag and used a screwdriver to work the T pin from side to side to get it out. Be patient, its slow. I managed to make a small tear in the leather of the shift knob, so be very careful. Once removed, you can just unscrew the shift knob. In the last picture of this series, you can see the pin sitting on the active handling panel.
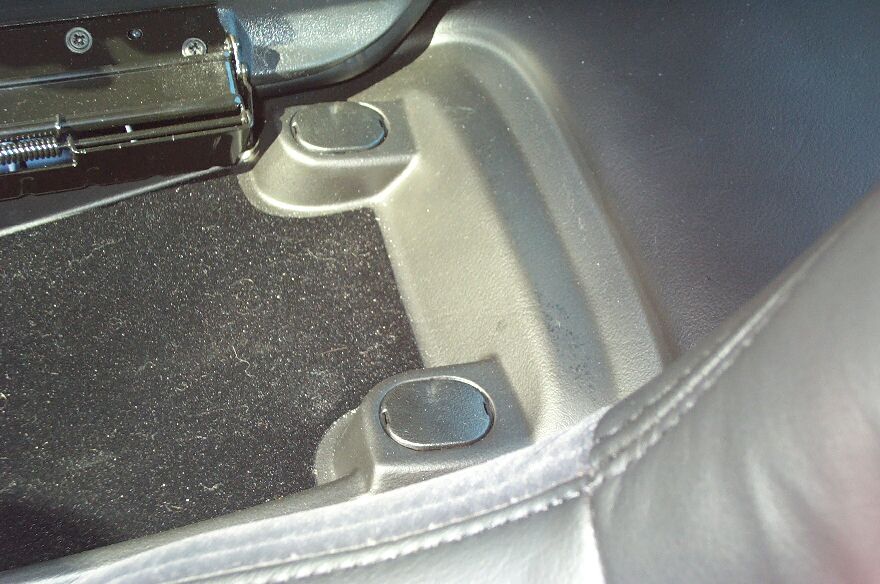
To get to the shifter, you must remove the entire center console. Two plastic nut covers need to be removed first. Once the nut covers are removed, you need a 10 mm socket to remove the nuts. The active handling/suspension adjustment panel needs to be removed next.
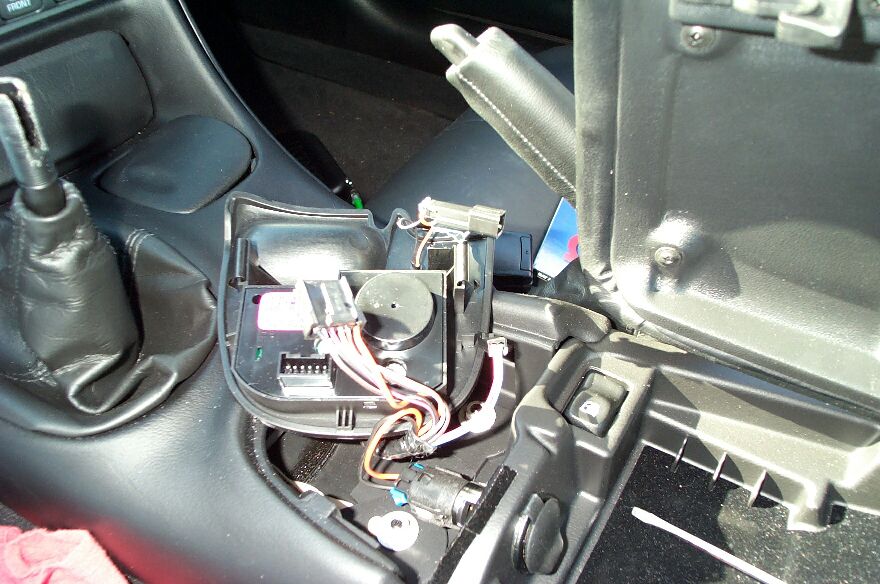
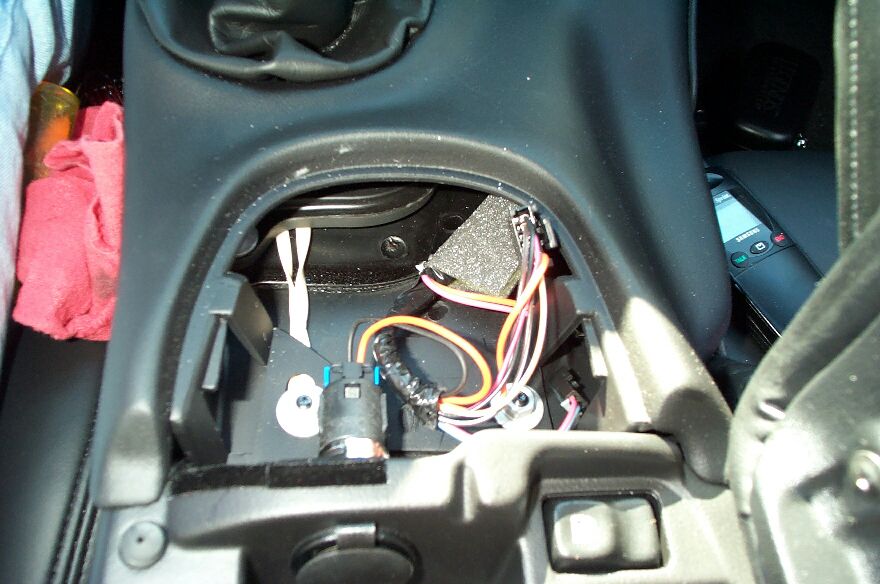
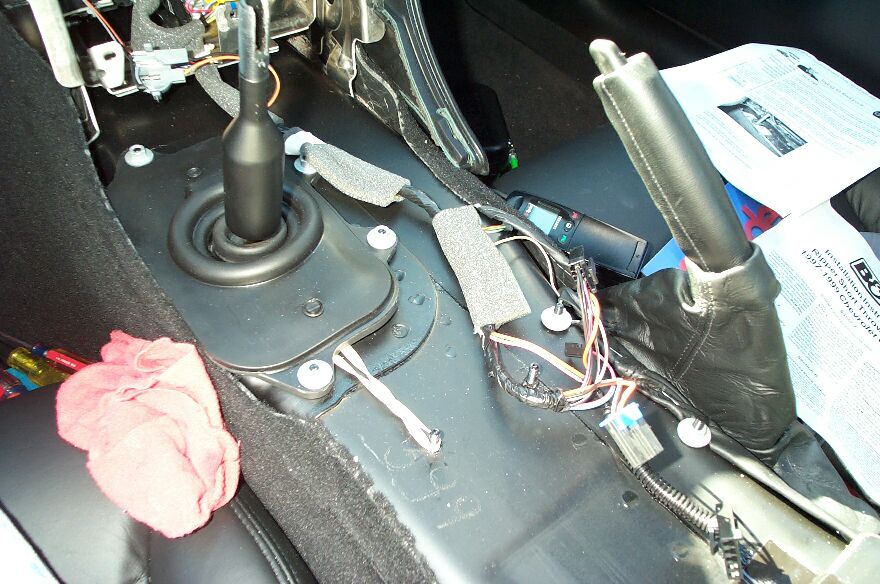
Under the active handling panel is another two 10 mm nuts that need to be removed. First carefully unplug the active handling harness, air bag LED (if equipped) and harness for the F45 suspension (if you have it, I do not). In the next picture you can see the infamous rubber band that holds the stock linkage in place while the factory workers put it together. It is safe to remove. Now you can remove the two 10 mm nuts.
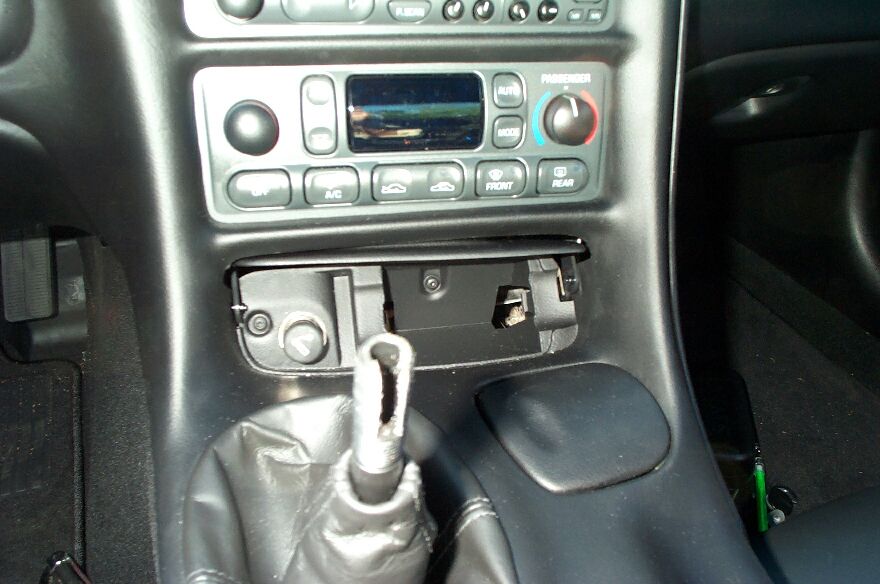
Do not forget to unplug the aux 12v outlet. Once everything is unplugged, you can lift up and slide out the rear section of the center console. Remove the ashtray and remove one torx screw. Also remove the other torx screw next to the cig lighter. Next to the ignition switch is a small slotted cover, remove it using a small flat headed screwdriver. There is a torx screw behind it that needs to be removed as well.
Once all the torx screws are removed, you are ready to remove the main console. Be careful, you need to lift it off of the shifter (helps to have it in 4th gear). With the console removed you are ready to remove the stock shifter cover. Again, there are four 10 mm bolts to be removed. Once removed, you have access to the four 10 mm bolts that holds the shifter in place. Once these bolts are removed, the stock shifter lifts right out.
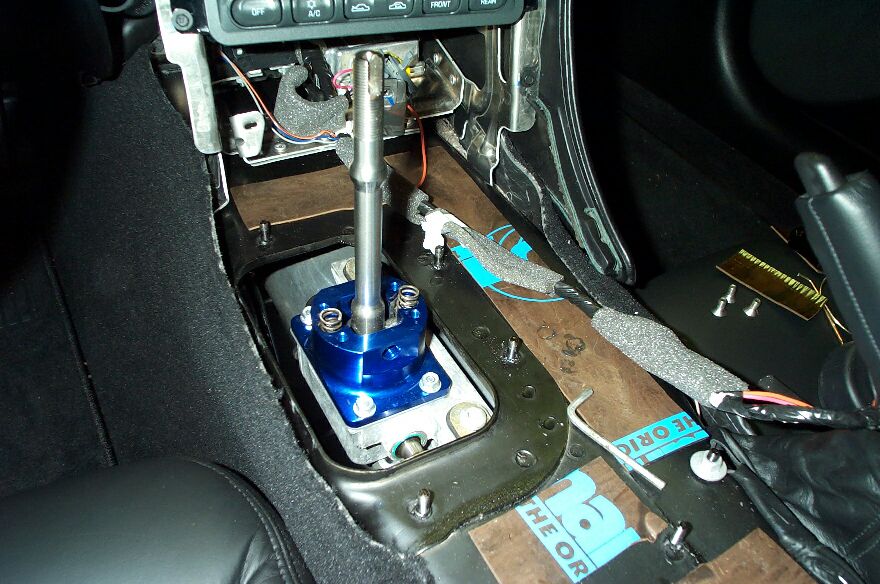
After the stock shifter is removed, you need to remove all traces of the factory gasket, you will be using the new clear gasket that comes with the Ripper. On the bottom of the factory shifter is a black plastic fitting, gently pry this off with a flat blade screwdriver. You will need to install it on the bottom of your Ripper (follow the instructions that come with your Ripper, except do not torque the nuts to 20-25 lbs, instead torque them so they are snug, do not over tighten, you run the risk of stripping the threads.)
Because the internal springs on the Ripper are so stiff, I took another Corvetteforum members advice and removed the springs by taking off the top cover of the Ripper (four allen bolts). I removed the springs being careful not to drop the round seats that the springs perch on. I used a Dremel with a cutting wheel to remove 1.25 coils from the springs. The springs were reinstalled and the black cover put back on. The shifts are now much easier. I recommend this mod to anyone who does not like how stiff the shifts are with the Ripper.
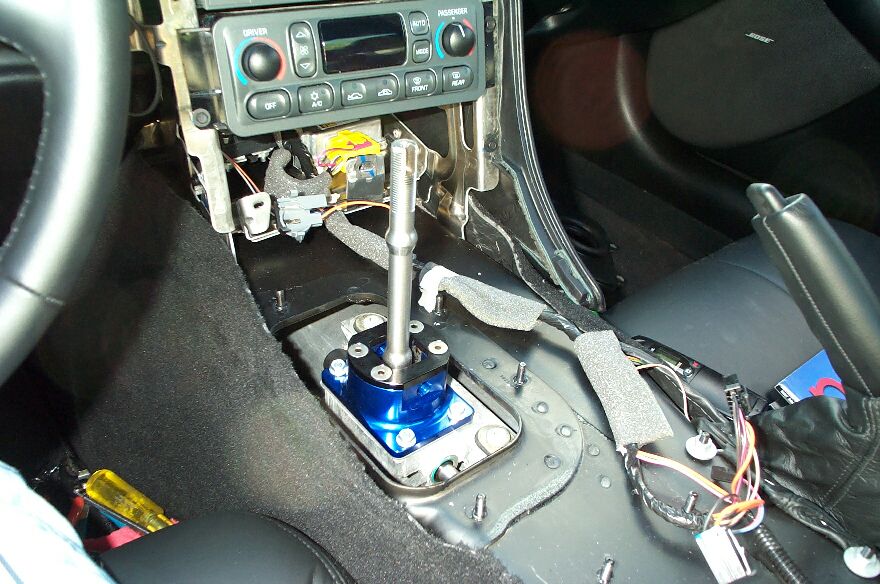
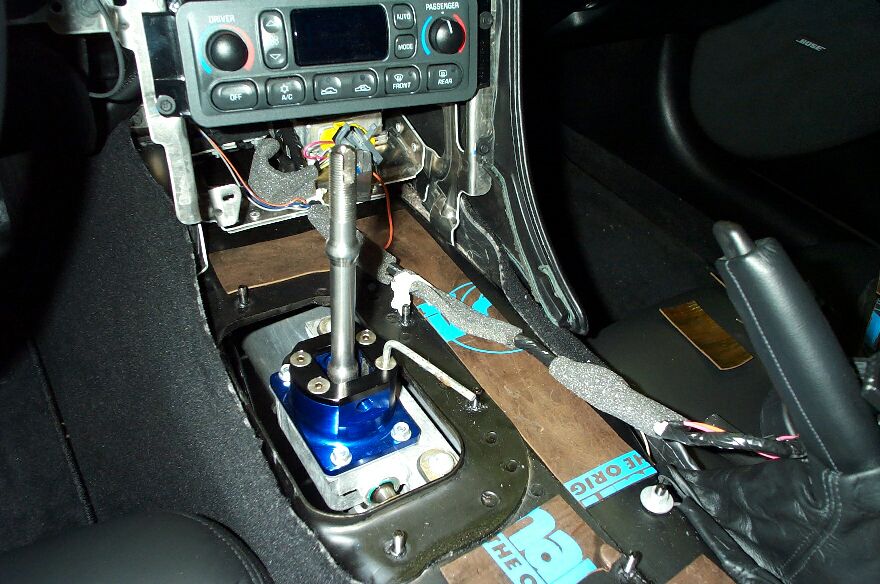
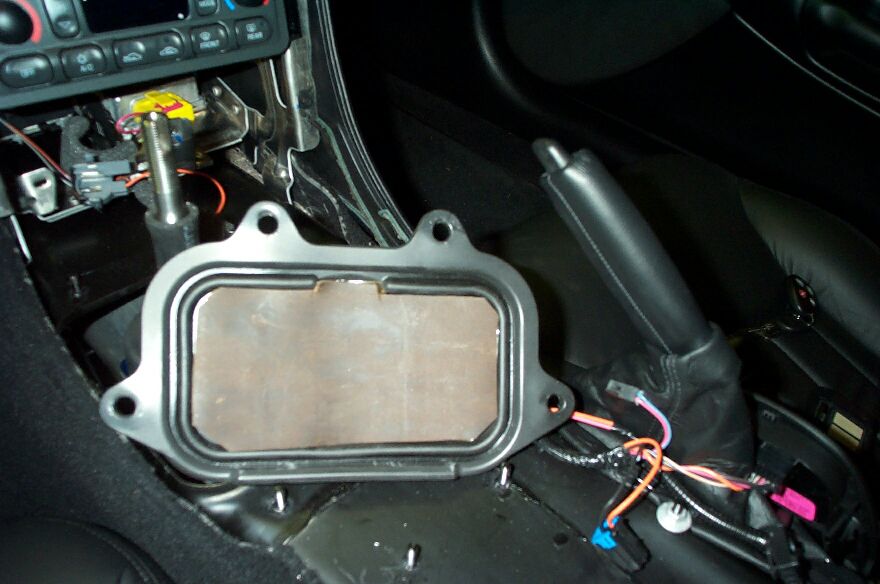
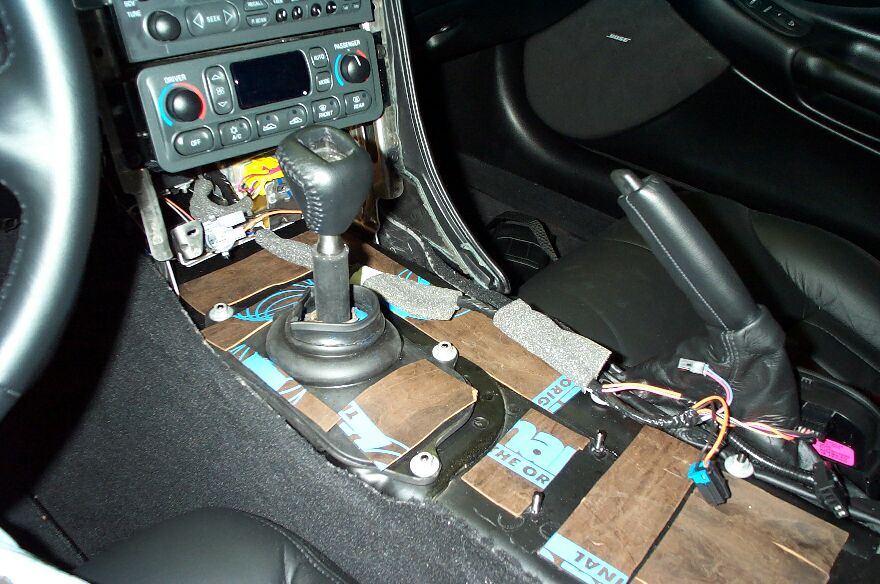
Because of the noise associated with the Ripper, I chose to insulate the shifter area as much as possible. I started out with some Dynamat around the base of the shifter. I then installed the rubber boot that comes with the Ripper. I cut two rectangular lengths and one circular length to put over the top of the Ripper. A 5/8" length of rubber hose was cut and put over the shaft of the Ripper as well. All along the transmission tunnel both inside and out, a single layer of Dynamat was installed.
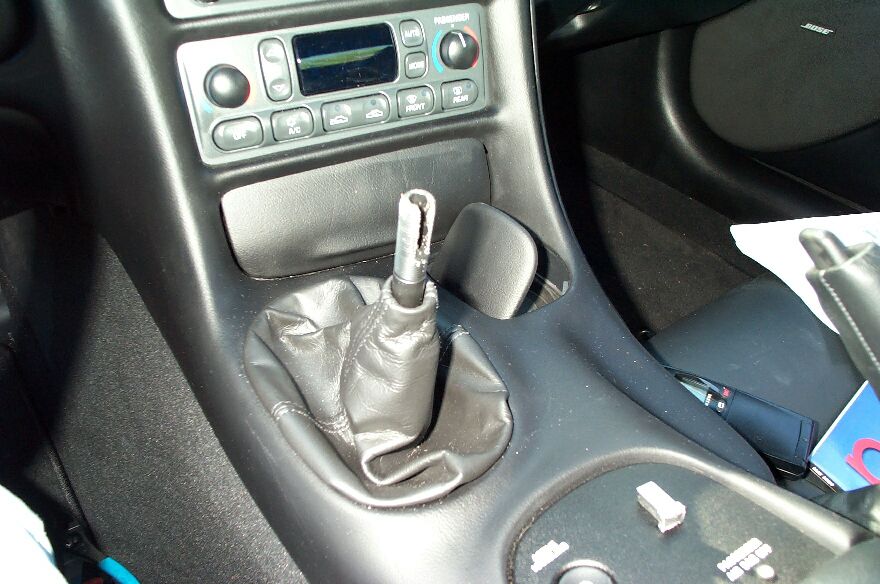
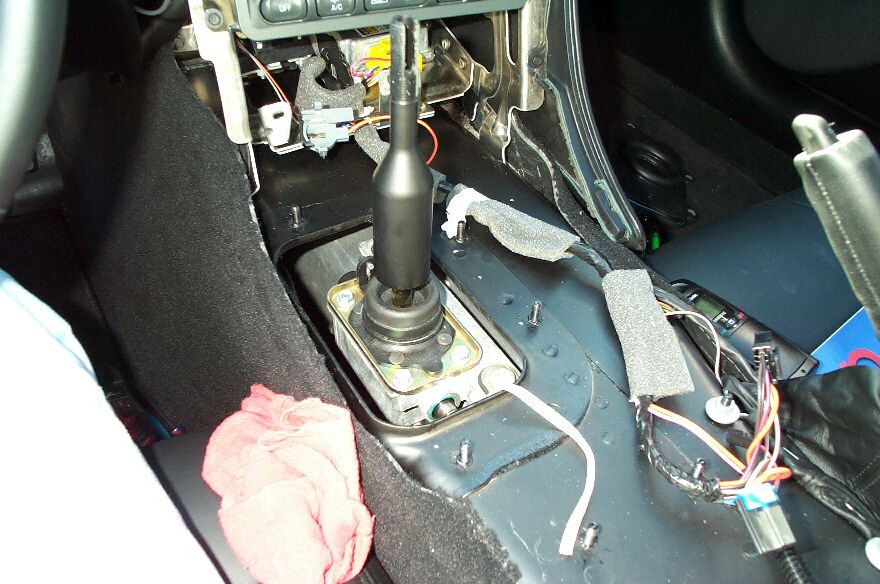
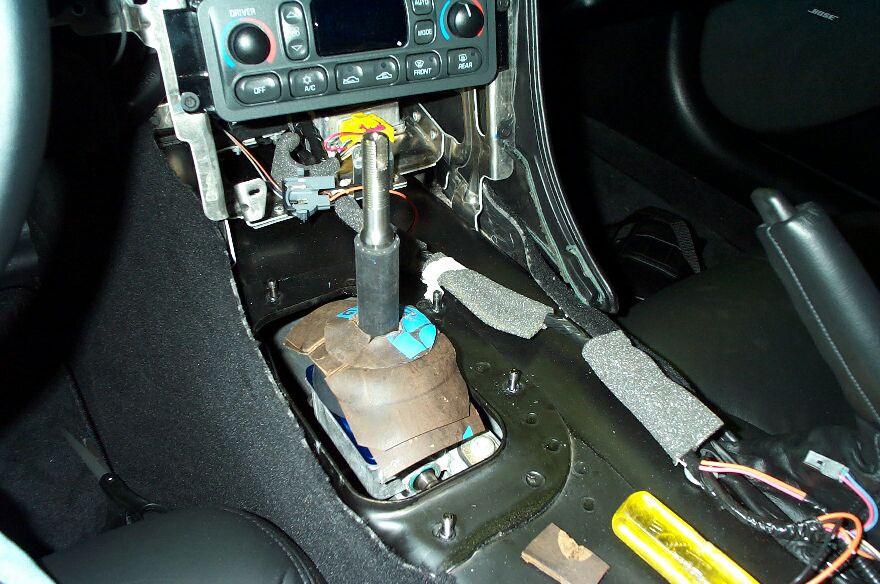
The factory rubber shifter cover was also treated to a layer of Dynamat on the inside. Once installed, I cut a hole in the Dynamat. The factory rubber shifter cover was then reinstalled and Dynamat was put on the outside of it also. Remaining area of the transmission tunnel was also covered in Dynamat. The stock rubber shifter cover has a extension that comes out of the bottom of the cover. I had to turn this extension inside out so it would sit correctly. You can see the extension protruding up in the last picture of this series. I guess you could just cut it off if you want to, but I elected to keep it.
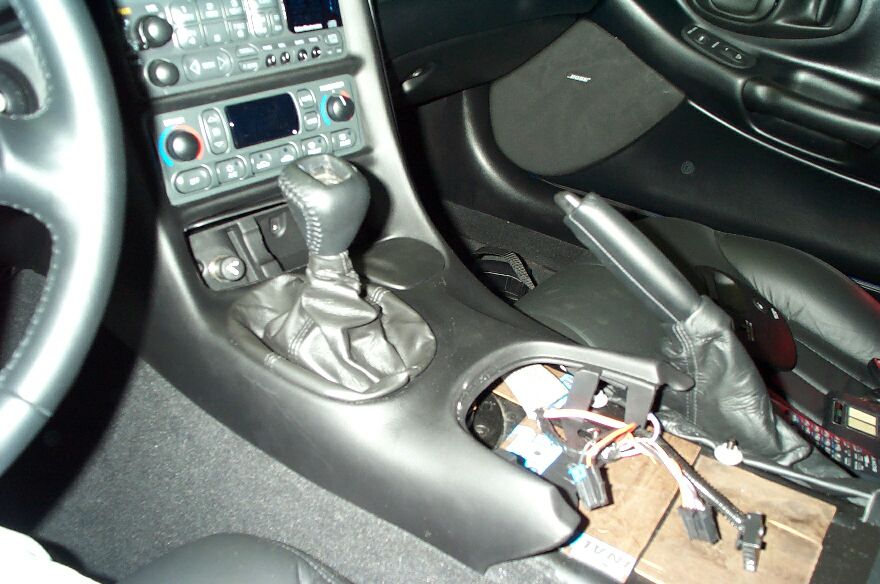
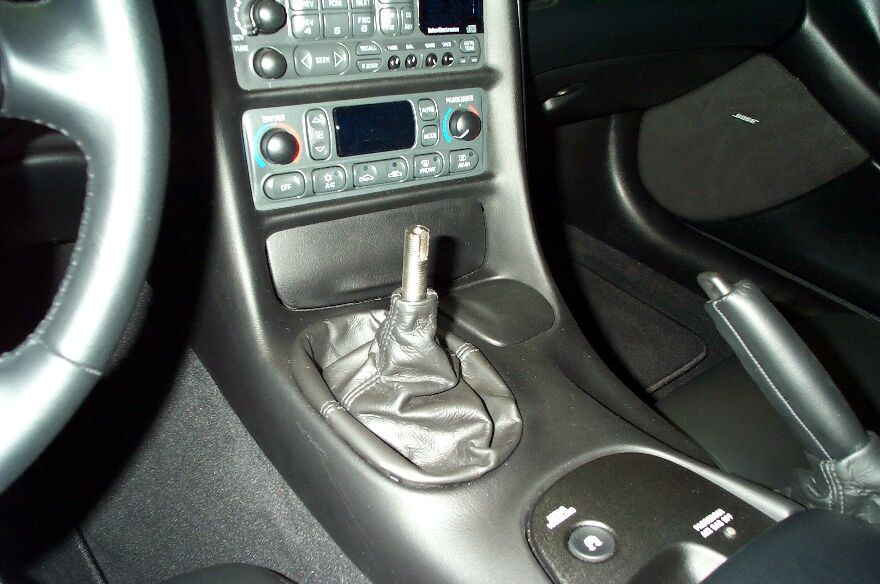
Here is the main center console reinstalled with the stock shift knob. The shifter boot was designed for the taller factory shifter, so with the Ripper installed, the boot is kind of scrunched down. This shifter rocks! I am very impressed with the improvement this upgrade has provided me. Very tight and quick shifts! Check out that ass in the below picture! She wears her new name well.
6/15/00 My Momo Combat shift knob arrived today. The Combat w/blue insert is a new model and rather tough to get. The color is real close to Nassau Blue but its a little darker. Still looks excellent
The first picture is of the stock shift knob, since the pin was already removed from the Ripper install, all I had to do was unscrew it. The second picture shows the factory knob removed, you will notice that the shift boot does not go down past the round bulge of the Ripper. It would seem that there is a ring of hard leather in the very top of the boot. If you work it enough, you can get the boot down below the round bulge of the Ripper, shown in picture number three. If you follow my instructions, your shift knob will be down almost all the way onto the shaft. I estimate maybe 1/4" is left.
I used the thin rubber cap on the end of the Ripper. The thicker ones will not let the knob slide down. Even this one is rather tight and you have the work the knob into place. Make sure to put the Momo ring on first, then the shift knob. Slide the knob down so there is just enough space left between the ring and the holes that the set screws go into. The Momo ring should be tight against the Ripper round bulge. Use the short set screws and tighten them down equally. Once everything is tight and the knob does not move, you can raise up the Momo ring and screw into place. Take care as not to cross thread the ring. Special thanks to Sam at LAPD for hooking me up with the Momo knob This shift knob blows the stock GM knob away!
Copyright ©2000 Rik Johnson. All rights reserved. |