| Installation of the HallTech Tric Intake! |

|
Right after my little dyno escapade, I rushed home to install my HallTech Tric intake, Donaldson LS900 filter and nylon MAF ends. I purchased the Tric several months before as part of a GP on the
Corvette forum. I did look at the Vortex but it was so cheap looking, I opted to go with the Tric even though it costs roughly $100 more.
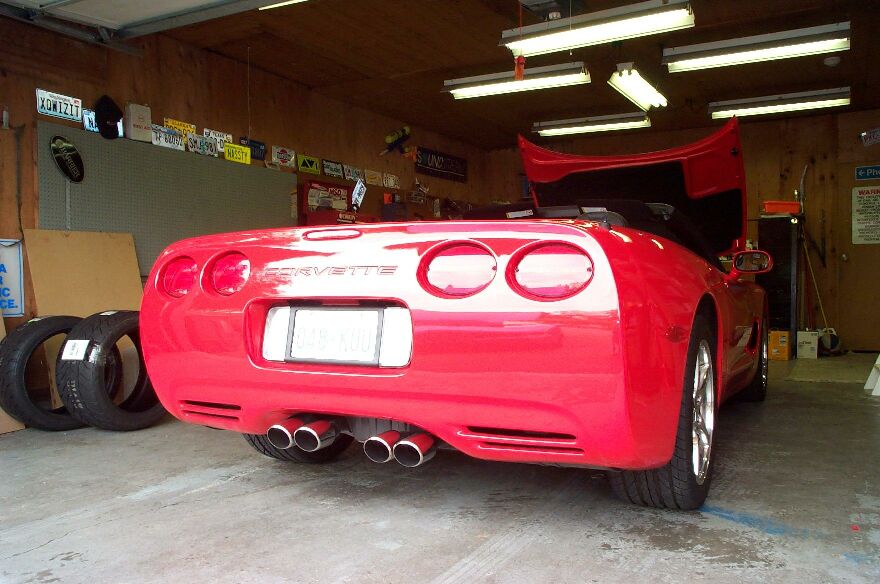
I had seen several C5's with the Vortex, some even had the Vortex painted body color, but I did not like how cheap they looked. The HallTech Tric is so much superior in look and in construction. Right away the SOTP improvement was incredible! The PCM was reset according to Jim Halls instructions. I highly recommend this performance mod as one of the best "bang for the buck" that you can spend. Jim Hall states that this setup provides you with 20.1 rwhp, I think that is an understatement!
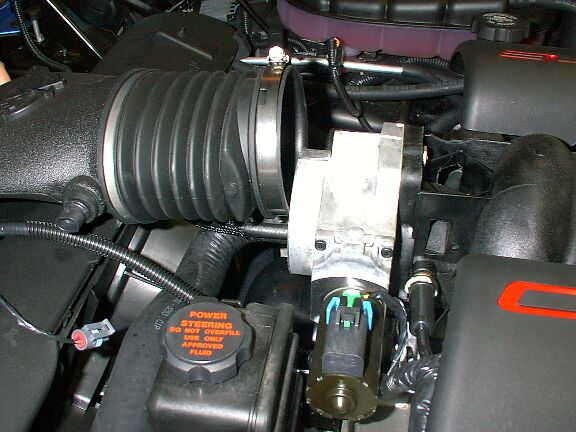
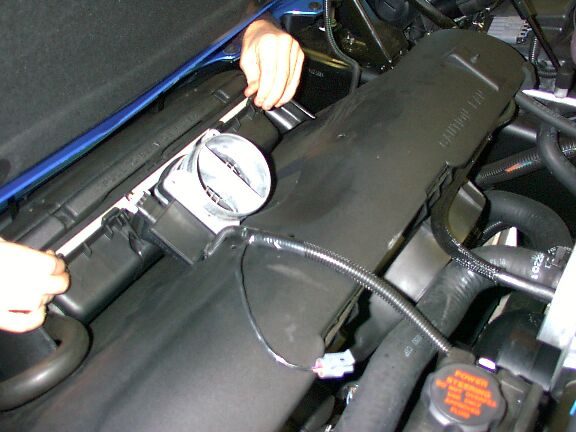
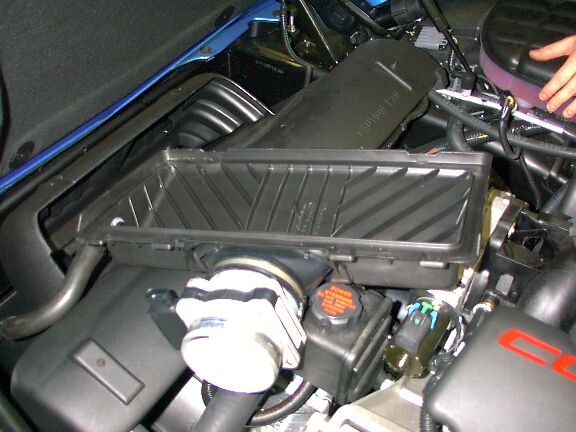
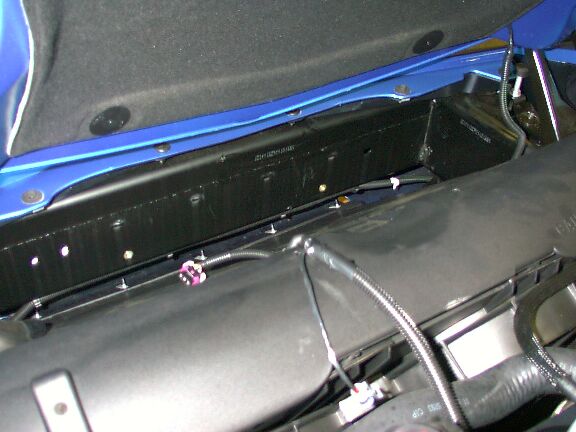
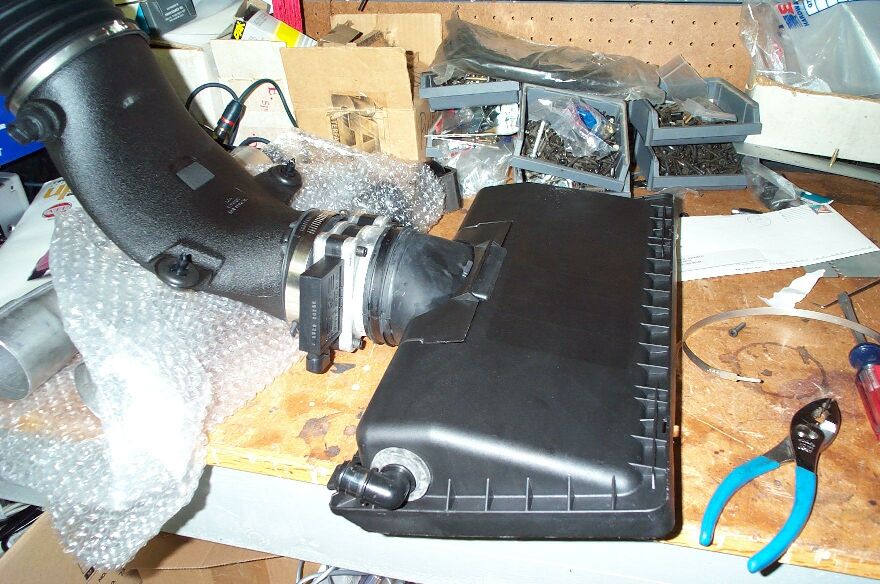
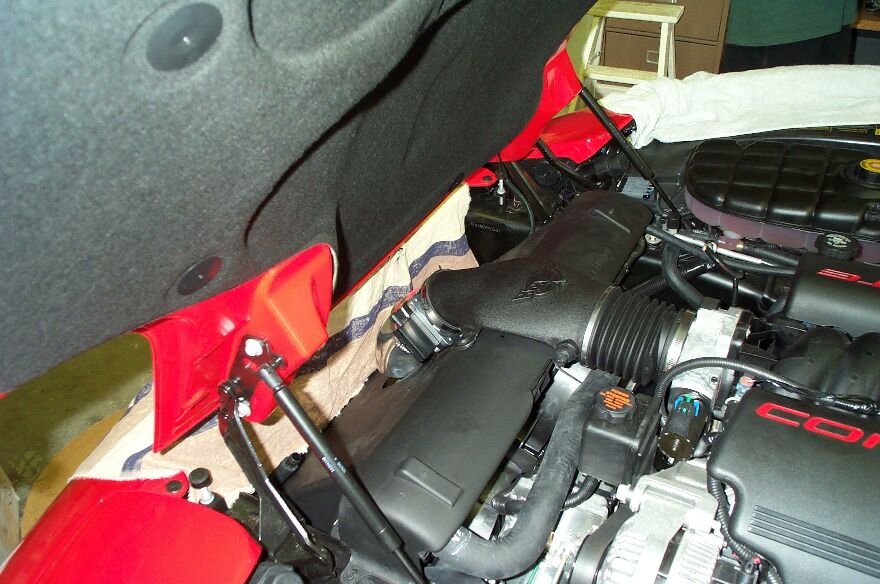
These first three pictures show what the stock air box looks like. I must say that the factory air box was quite a pain to remove. Picture one shows the air box. Picture two shows the two hold down clamps that must be removed before the actual air filter can be pulled out. Picture 3 shows the intake plenum disconnected from the throttle body
Picture 6 shows the MAF exposed after the intake plenum was removed. Picture 7 is the tray that holds the stock air filter with the MAF still attached. Picture 8 is the air filter shroud. Notice the small air channels on the inside right of the shroud. Its no wonder why aftermarket intakes provide you with so much rwhp. Very restrictive design GM!
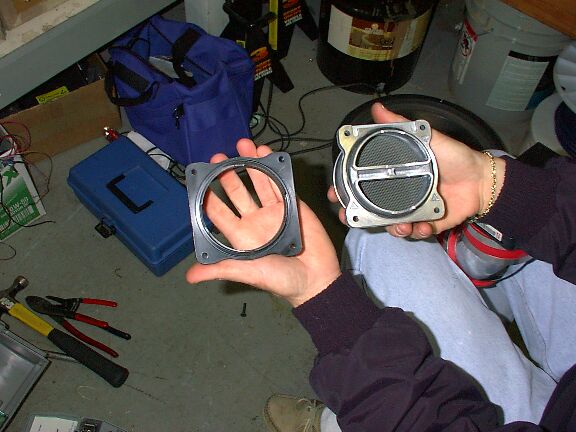
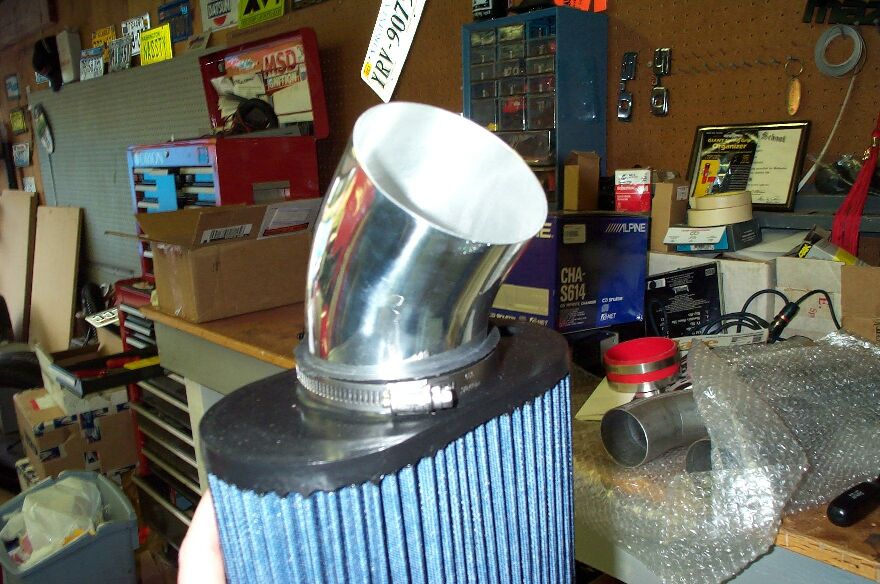
Picture 9 shows a side-by-side comparison of the factory MAF end w/screen to the larger HallTech nylon MAF end. Picture 10 is of me installing the newly assembled MAF to the HallTech Tric. Picture 11 shows the factory air box location minus the shroud. The shroud was a pain to remove, two torx screws held it in place and I kept dropping the torx bit!!!
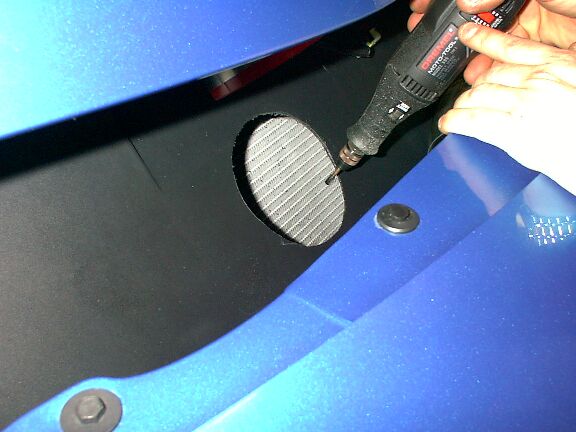
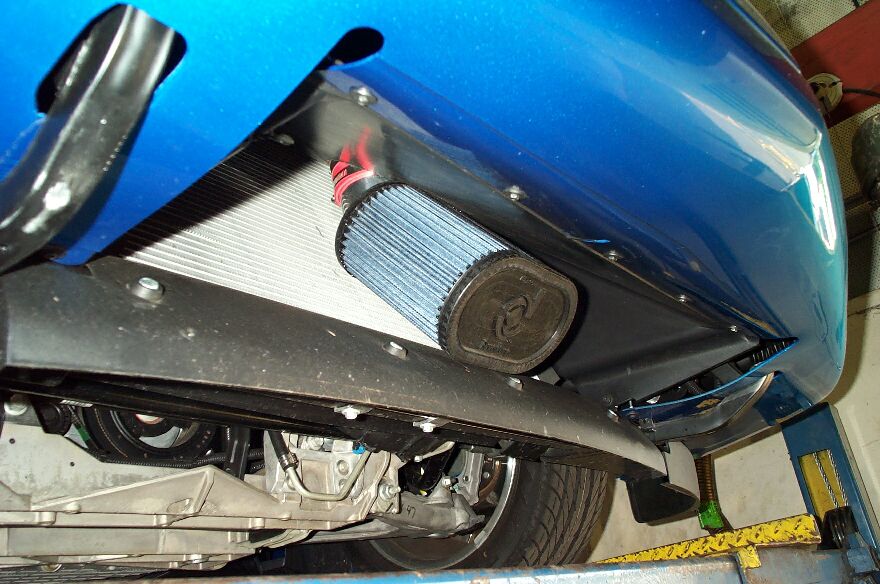
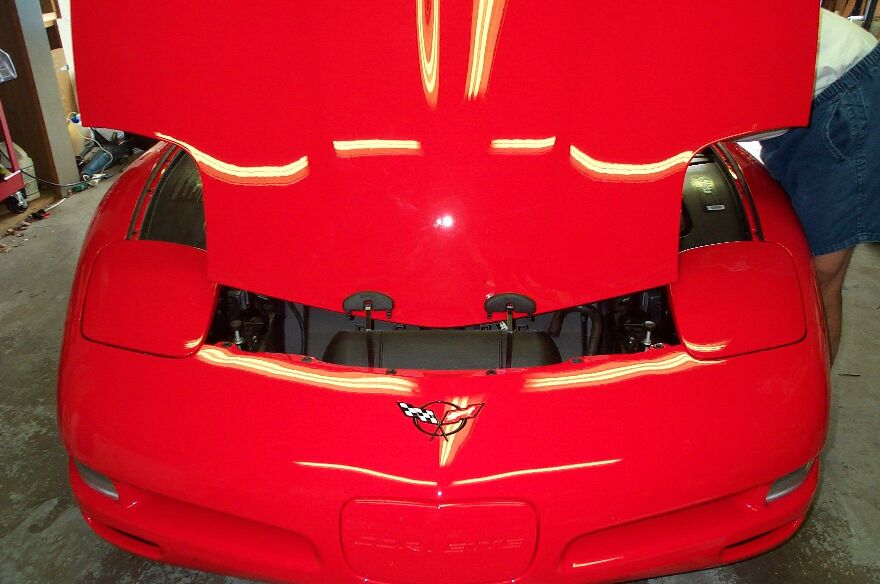
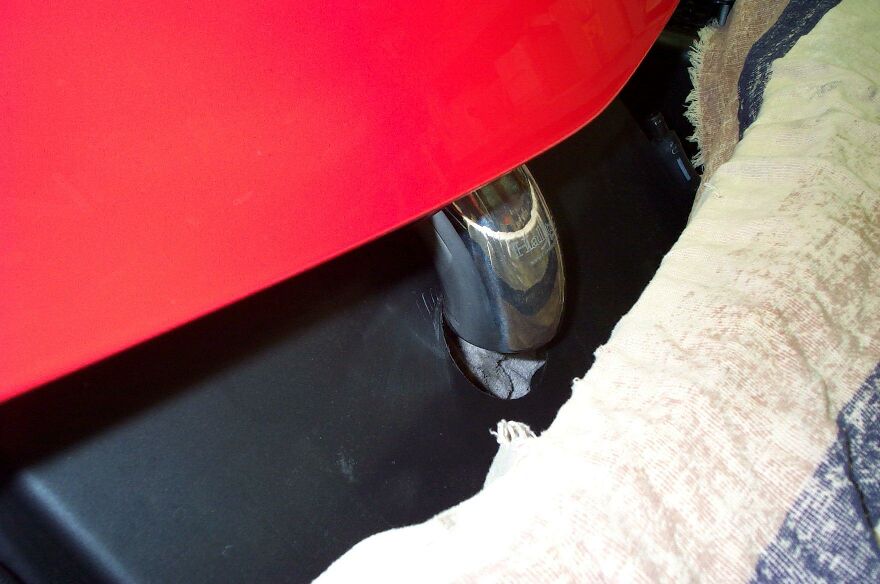
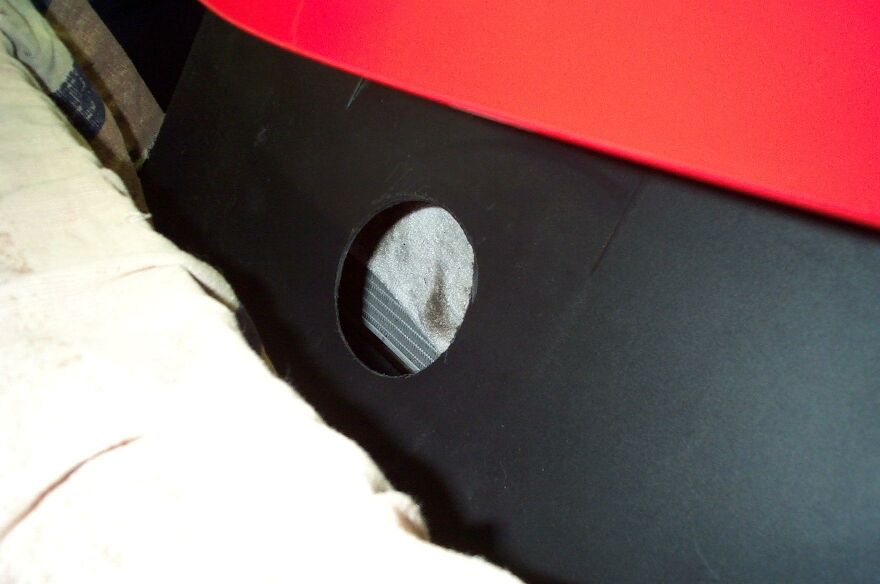
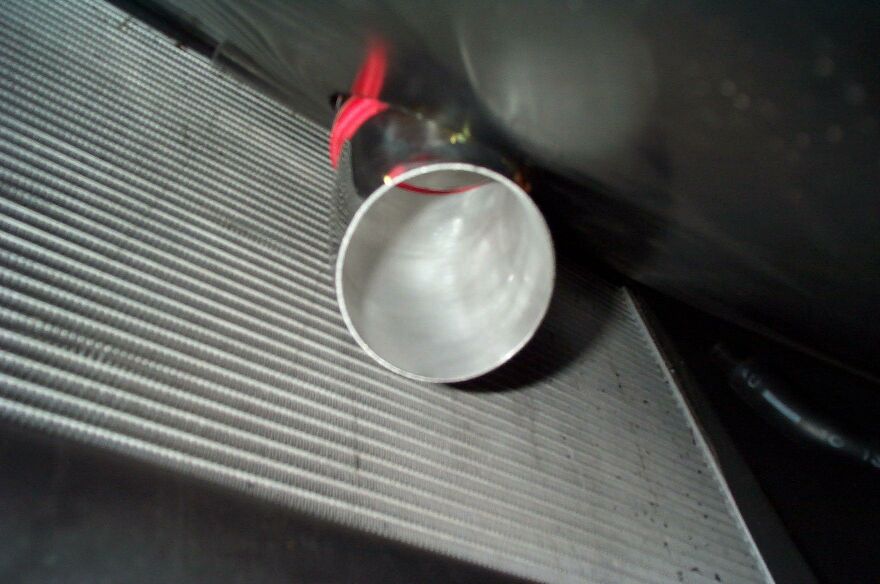
Picture 12 shows you the newly cut hole in the radiator shroud. I used the method specified by Jim Hall, but what he failed to mention was that a circular hole will not work, it needs to be more of a oval for the Tric to fit correctly. I used a 4" hole saw to cut the initial hole and then enlarged it using a Dremel. Picture 13 shows the Tric installed to test clearances. Picture 14 is a shot of the Tric from between the hood and bumper.
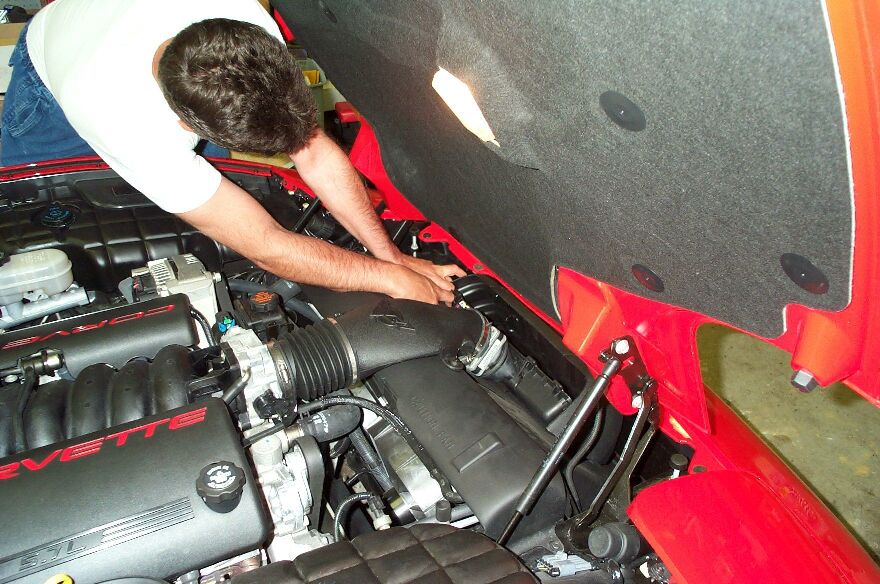
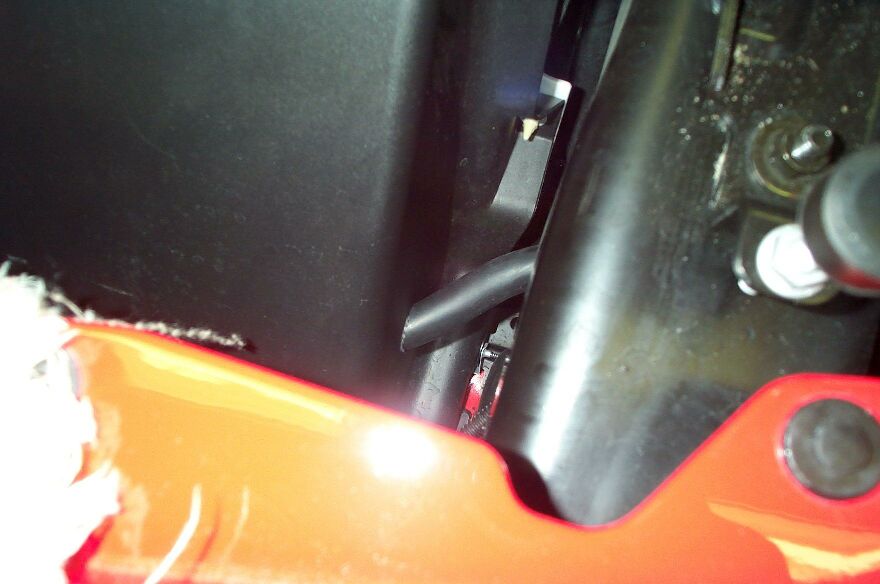
This last picture was taken from under the front bumper. It shows the Donaldson LS900 a little and also the other air connector tube that has to pass through the radiator shroud to connect onto the Donaldson. I spent about four hours on this and it was not enjoyable. If you plan on doing this install yourself, I recommend you have a good friend help you (like I did. Thanks Steve!) BTW, the C5 screams with this intake! I can now chirp the tires in 2nd & 3rd gear. If you do not have this intake, man you are missing out. Check out how much rwhp it gave me under the dyno section. No throttle body coolant bypass installed yet. Since Jim Hall recommends it, guess I will be doing it soon. 5/21/00 My friend Ed Fugo stopped by so I could help him install his HallTech Tric on his Y2K Torch Convert. Man, Ed's car just shines! Don't know how many hours spent on the Zaino treatment, but I bet it was worth it!!
Of course Ed did most of the work, with me around for tool and picture support! The stock air box is a pain to remove, be careful. The torx screws that holds the airbox assembly in place can not be pried out! You must loosen them with a torx driver.
Here is the intake runner, MAF and filter holder. Next pic shows the stock MAF with the screen still in place. Ed elected to purchase the aluminum MAF ends, so we have a picture of those.
We have the completed MAF with the aluminum ends. Next is a pic of the Donaldson with the bottom section of the Tric installed. Last pic shows the newly assembled intake system set in place as we determine how much radiator shroud to trim.
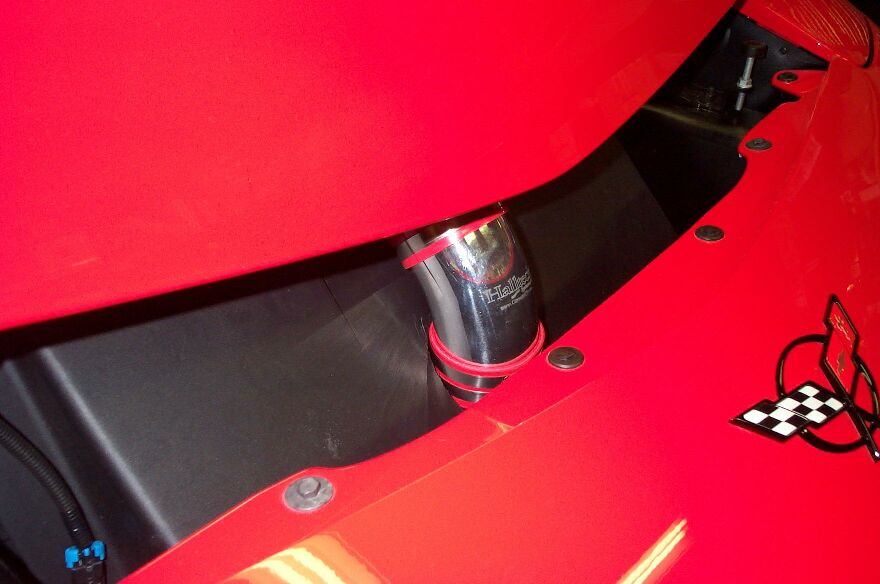
Next is a show of the Tric in place with our hole drilled in the shroud. You can see from this picture that there is no way a straight 4" hole is going to work, the angle of the shroud is just at too steep of a angle, thus forcing us to widen the hole so its more in the shape of a oval.
Another shot of the air tube routing through the side of the radiator shroud. A 1" hole saw works perfect for this. The next pic shows the Tric from under the front bumper, no filter just yet, still test fitting. Ah, the finished product!
These things rock! Copyright ©2000 Rik Johnson. All rights reserved. |